Setting the badge Template for the entire site: This basic template can be imported to any activity and tweaked as per the Activity set up.
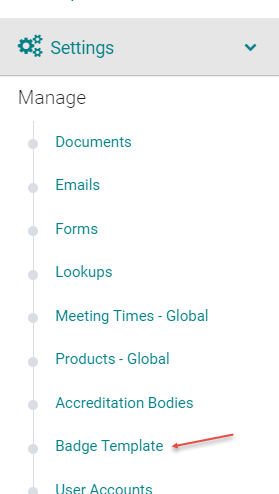
Go to Settings > Badge Template
Click on 'Add' to add containers for the badge

Hover over the container until you see a hand icon and drag it to the desired place on the badge.
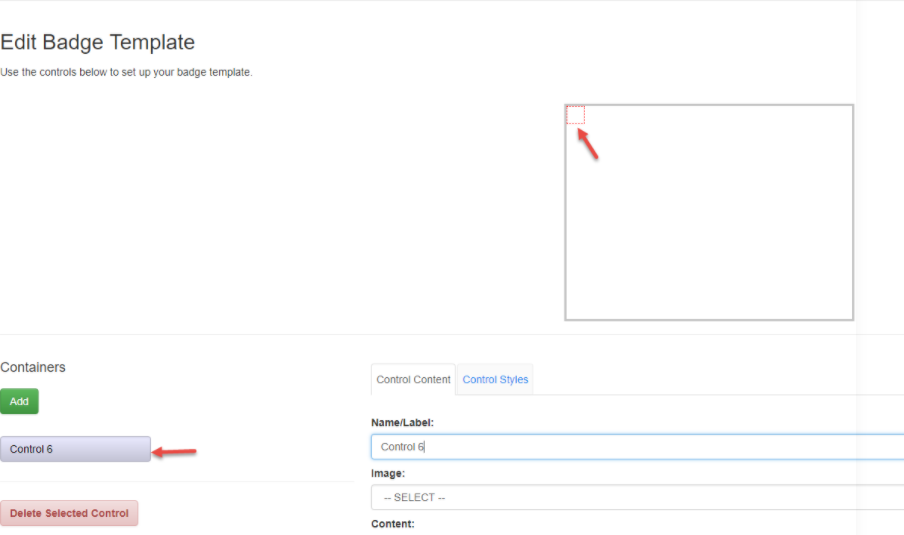
Enter a name for the container and select the tag depending on what information from the system needs to be pulled onto the badge.

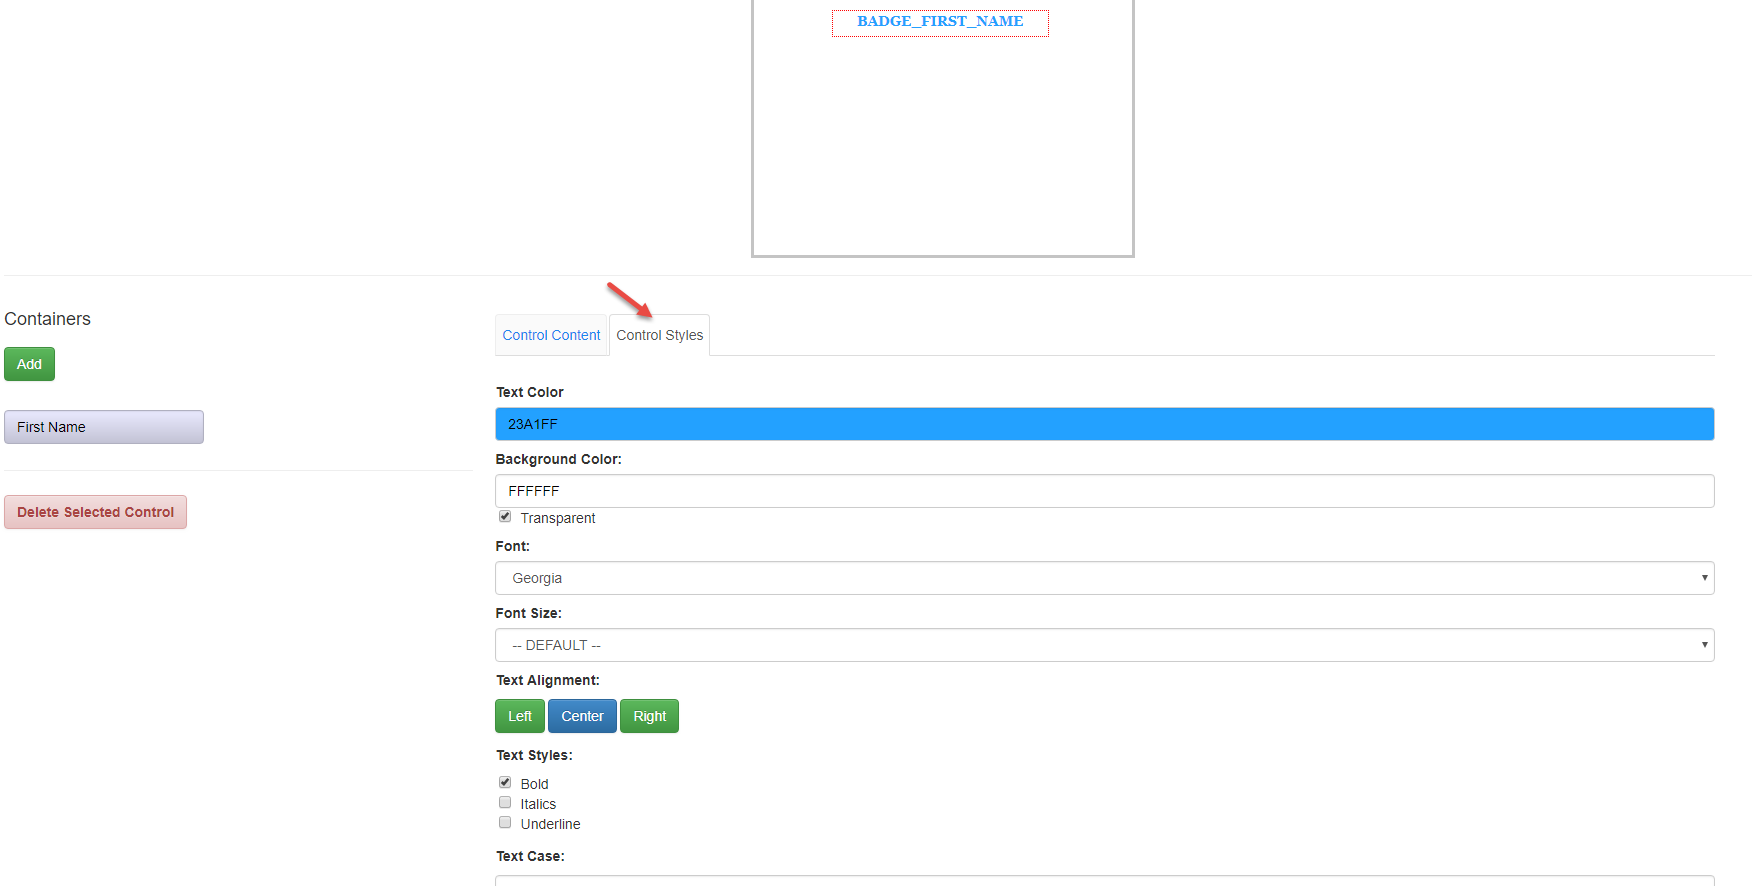
Click on 'Content Styles' and add the color, font and alignment styles.
Add all the containers that required to be displayed on the badge. Click save.

Activity Specific Badge Template Set up:
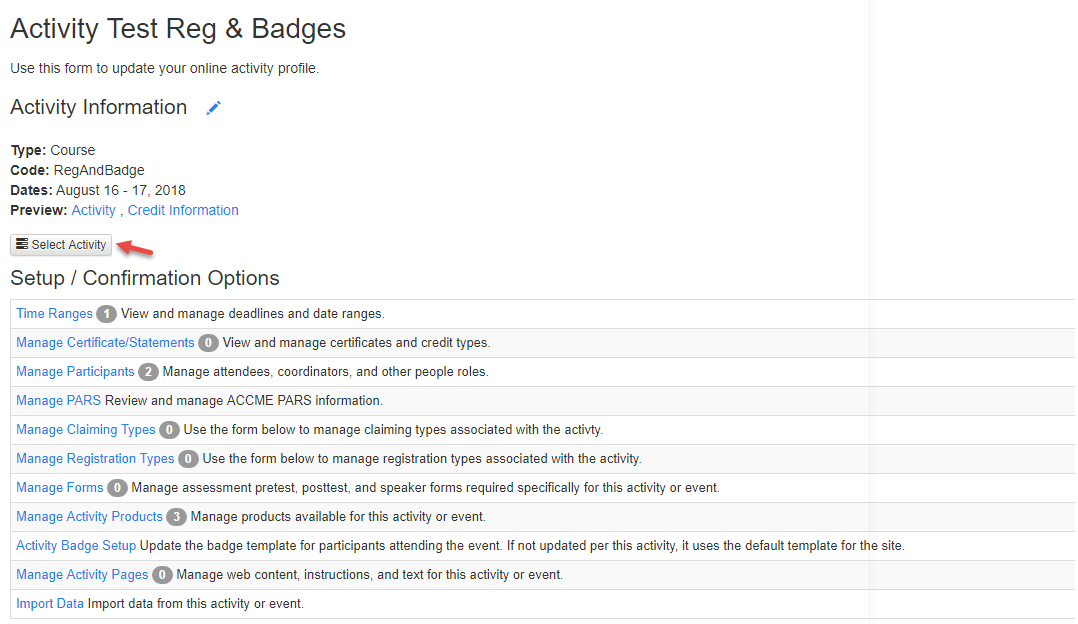
Search for the desired Activity and select the Activity. Click on 'Activity Badge Setup'. If you have an updated Activity dashboard this option is available under Registration tab

Click on 'Import Site Template' to import the badge template created for the entire site.

You can make changes to the imported badge template and these changes are applicable only to this activity. Like shown in the screenshot below to add logo to the badge, add a new container and select the image from the site files. Before you could select your image from here, add the images to the files section under 'Web Content'

To Add Product Purchase information on the badges:
Go to 'Manage Activity Products'. If you have an updated Activity dashboard you will find this option under Registration tab

Click on the Product

Enter a Badge Code for the product. This Code will be pulled to the Activity Badge Setup page

Go back to the Activity Badge Setup page

Add a container to the badge; enter the content that goes on the badge and select the badge code. That means Registrants who purchase the product with this code will have the content displayed on their badge when printed.

Similarly there could be some special products like Dinner privileges that are allowed to specific groups. If you do not want to add the content, and instead use some color coded indicator - add the container and select the badge code for the special product and do not enter any display text in the 'content' field

Go to 'Content Styles' and select a background color and deselect the 'Transparent' feature. As shown below you will have a color indicator on the badge to identify the special product buyers.

Printing the Badges: To print the badges for the Activity Registrants
Go to the Activity and select the Activity. This is a required step.
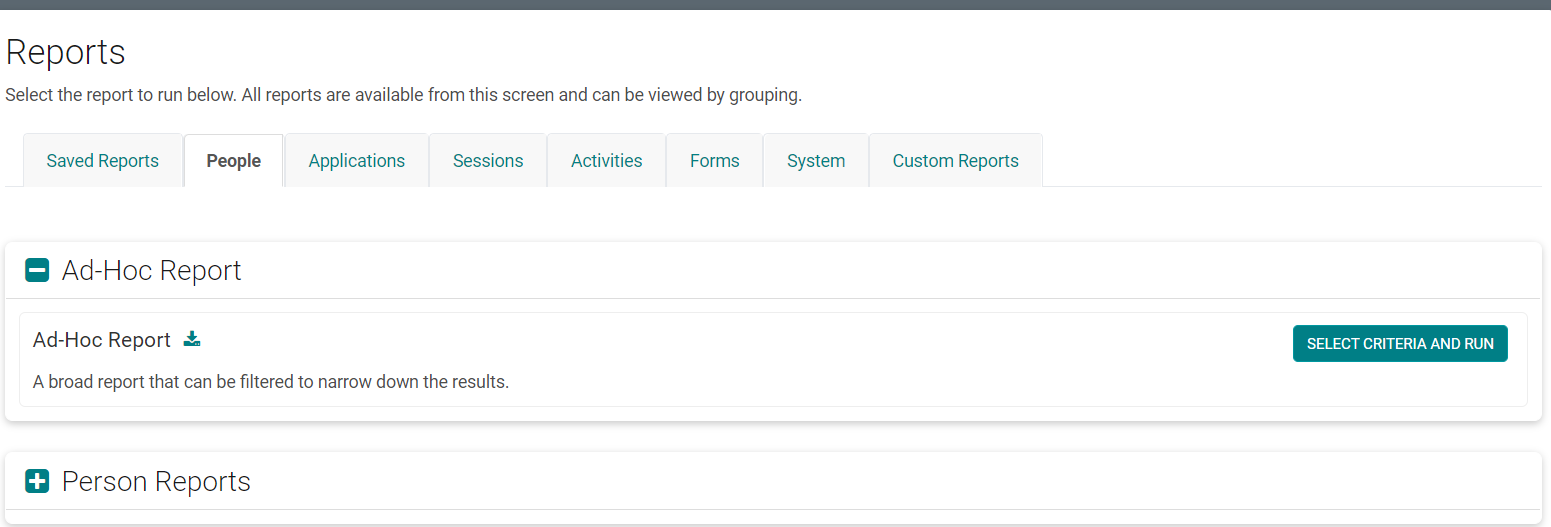
Go to Reports > Run Reports > People > Person Reports
Click on 'Template Badge Report'

Select the Assigned role for which you are printing the badges; under Activity Relationship, select 'Activity, member or Reviewer'; Print type - how many badges to print on single sheet of paper. The print type chosen here is 'Default 6 -up.
If you need some blank badges to use for on-site registrations you can select the check box next to 'Print Blank Badges' and Run Report.

Click 'Download Badges'

Download Badges show you how the badges are going to be printed based on the print type selected. In this example Default 6-up will show like this. That means you have 6 badges printed per page with perforation separating each individual badge.
