Note: Prior to adding a Session you need to add the Activity.
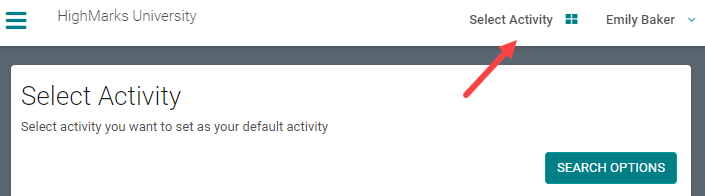
Select the Activity you want to add a new Session/Event to using the Activity Switcher
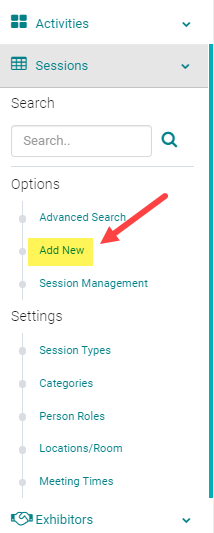
Go to Sessions (or Events) and click 'Add New'
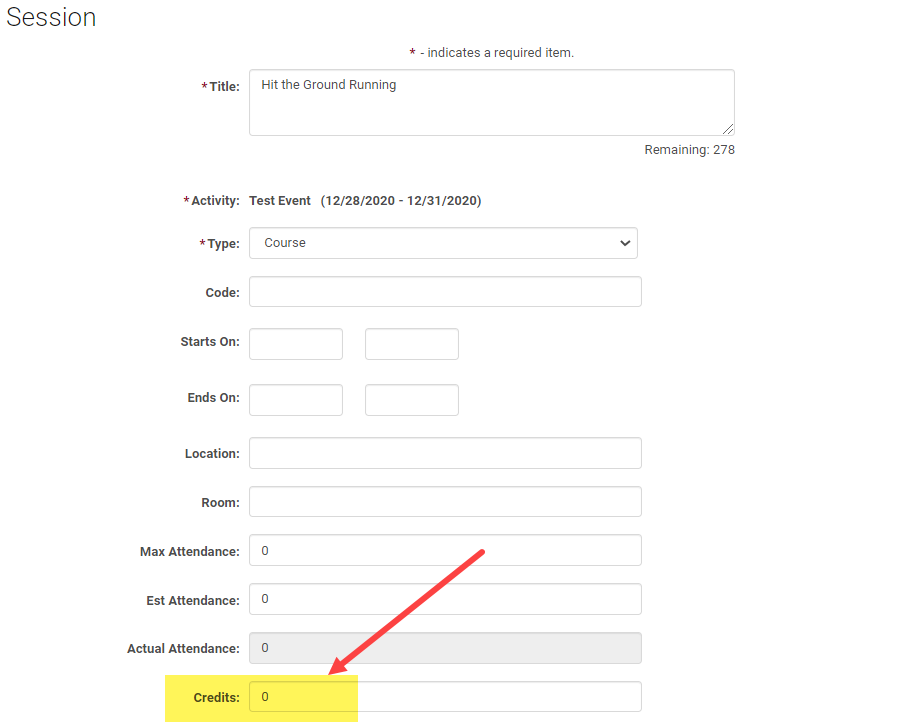
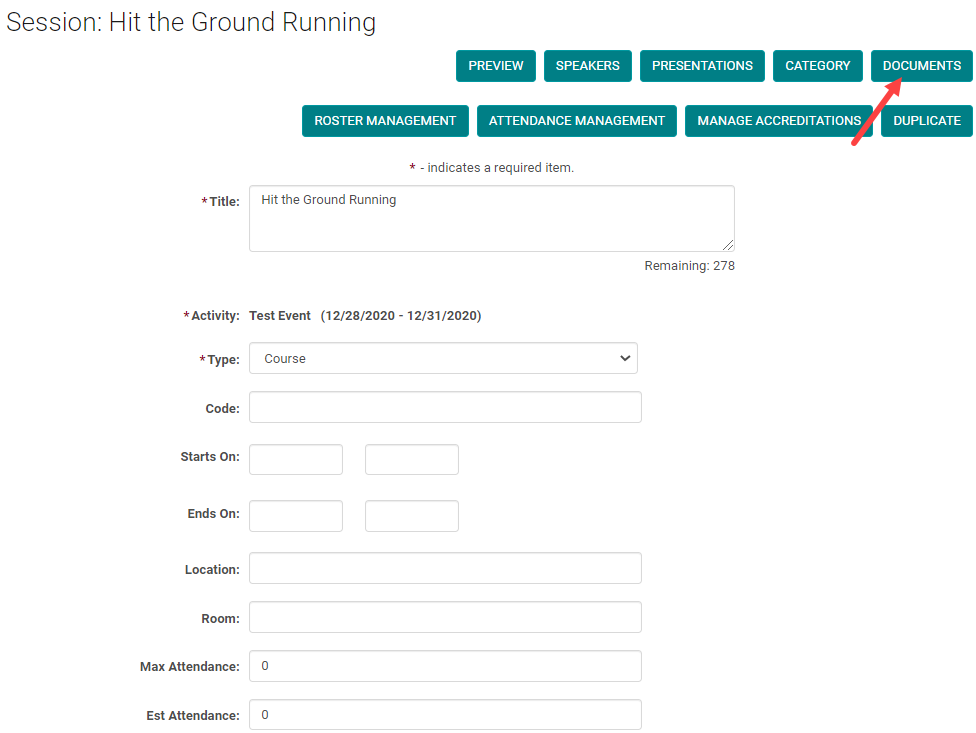
Field Definitions:
Type = Select the type of the Activity
Start On = the start date should be on or after the Session/Event Start date
Ends On = the End date should be on or before the Session/Event End date
Credits = Sessions must have a Credit value entered in order for users to be able to locate the Session in ‘My Credits’. Enter the highest number of credits offered by the Session.
Pretest and Post Test = Enduring materials commonly have them. If the session is an Enduring Material type add the pretest and Post Test here.
Pretest and Post Test = Enduring materials commonly have them. If the session is an Enduring Material type add the pretest and Post Test here.
Evaluation form = Evaluations specific to the Session are added here. Note: If you have already added a session evaluation while creating the Activity, the session evaluation entered here overwrites the one at the Activity.
Approved: A Yes/No flag for internal use. There is no logic tied to the field.
Public = Yes: Event/Session will display on the website when users search Sessions for program information and for continuing education.
Online Course = Yes: If an Enduring Material System will display the Event/Session within the Enduring Materials interface.
Cancelled = Yes: System will display the text "Cancelled" next to the Event/Session Title if it is Public = Yes.
Status = Inactive: Event/Session will be removed from active searches in admin and front end. System will remove any associated Speaker Assignments, Form Responses, etc.
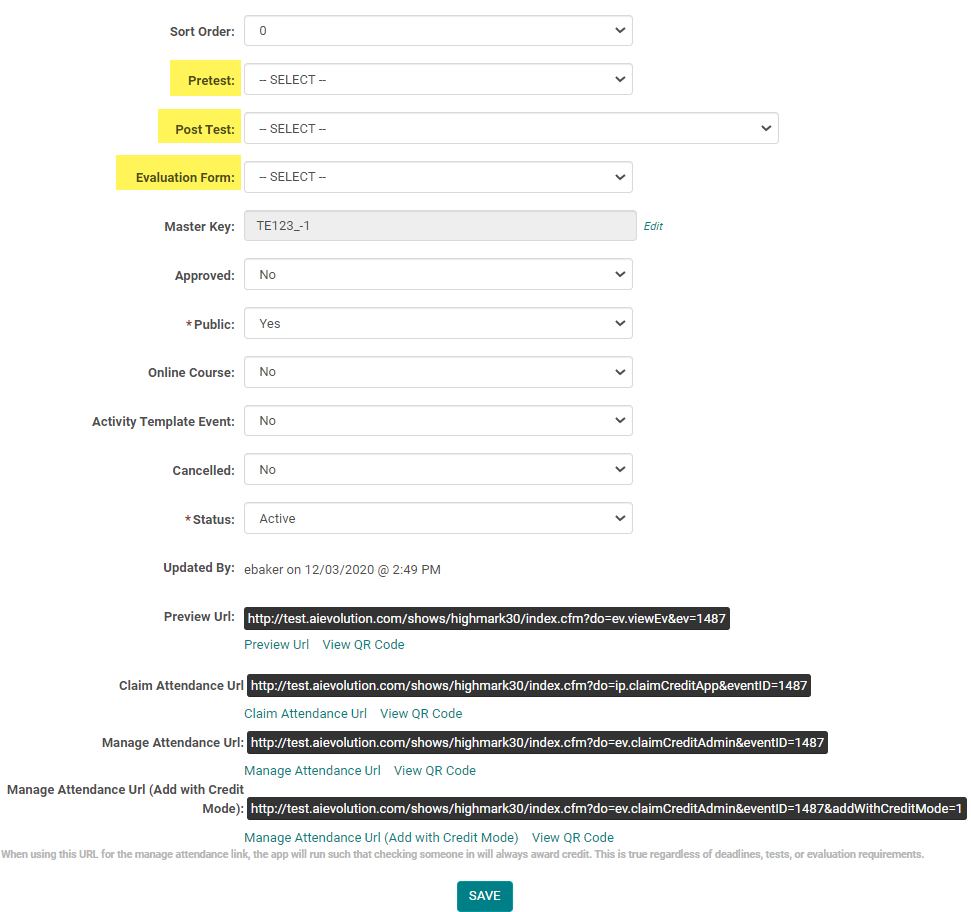
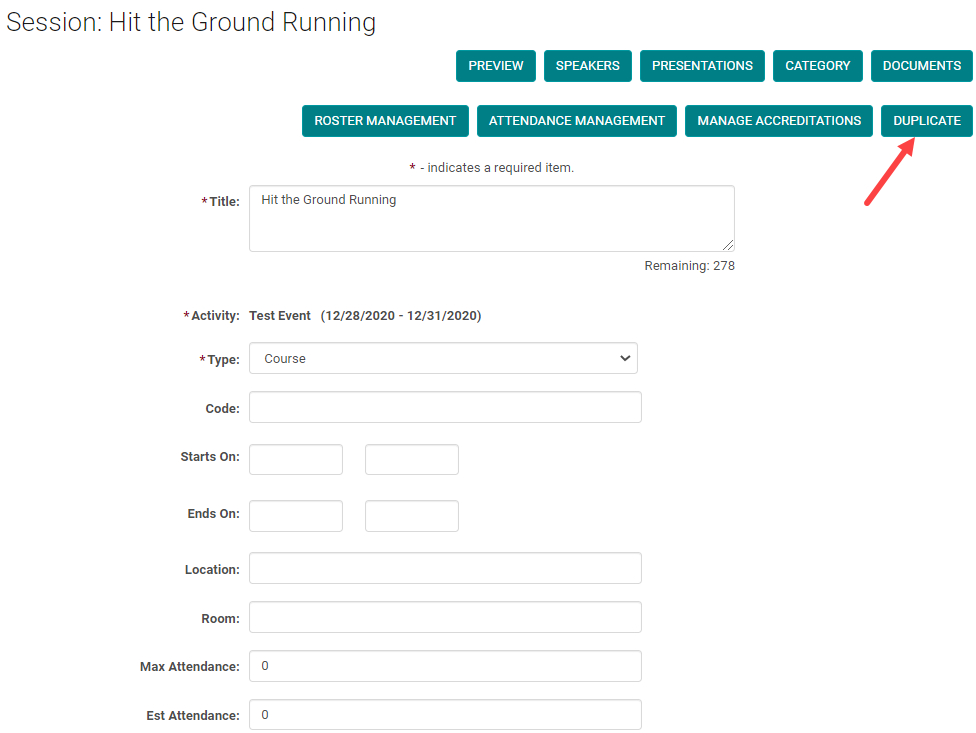
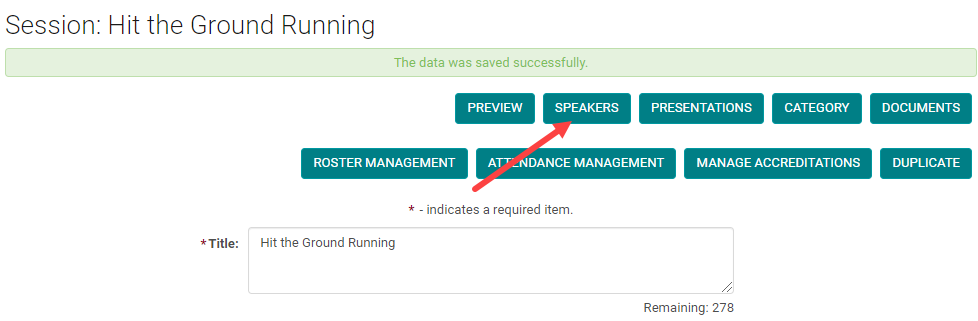
Once you have saved the Session, setup options will show up.
Click on 'Speakers'
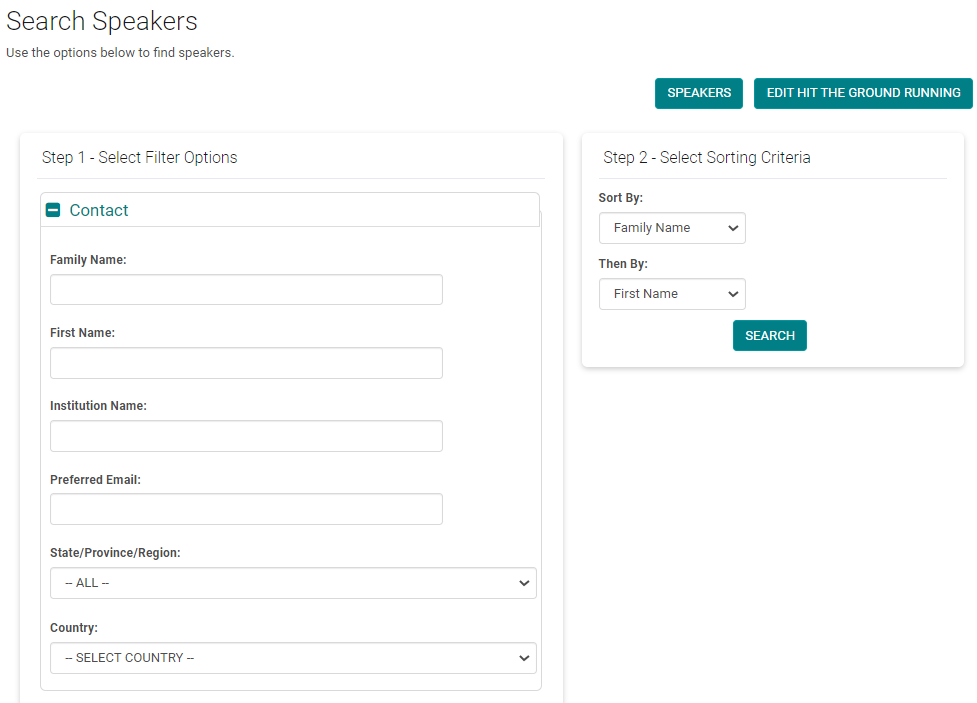
Click on 'Assign Speakers'

Search for people in the system
Search
Select the role for which you want to assign the member and click 'Assign'
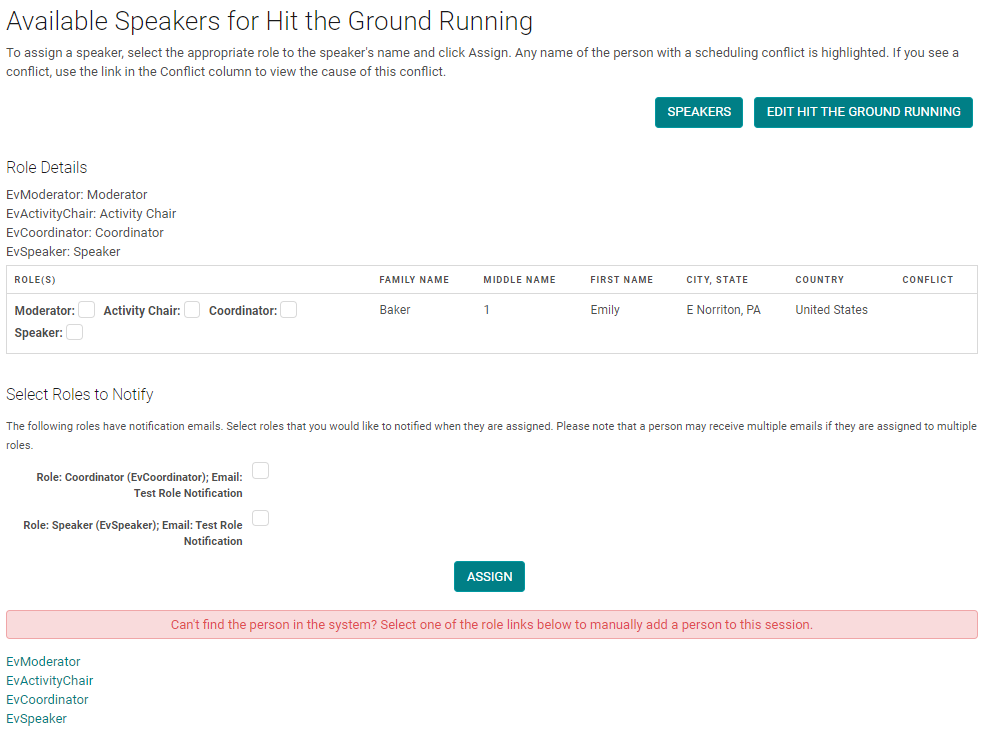
If you can’t find the person you are looking for please read the instructional text in red on the screen.
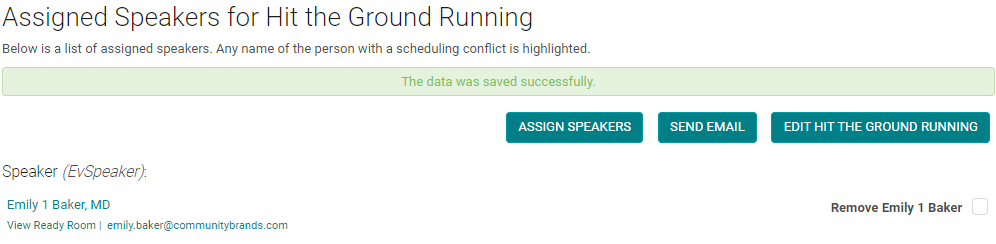
The person you have added will show up on the screen with the role assigned to him/her.
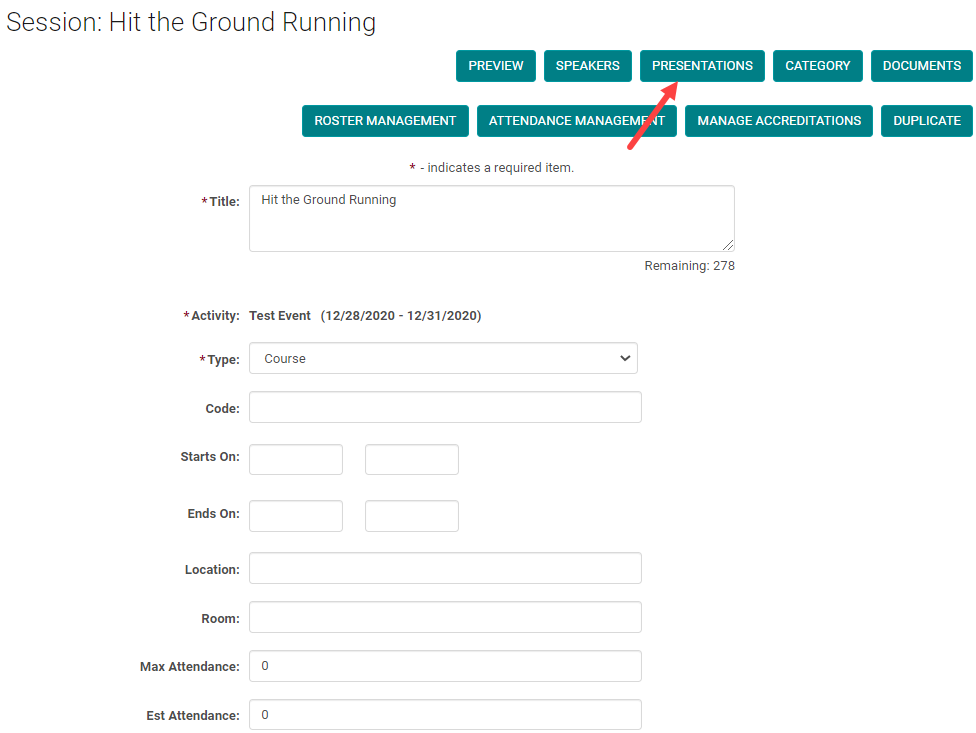
Click on 'Presentations'
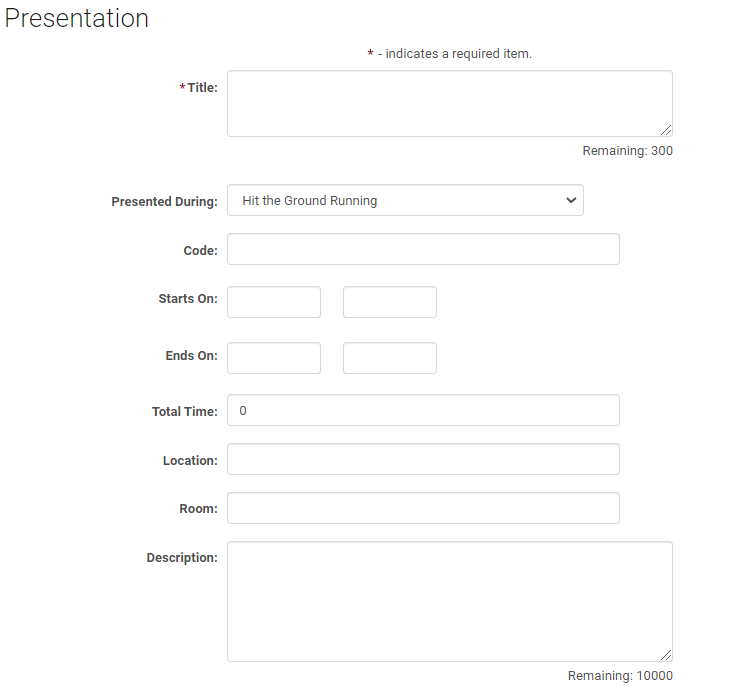
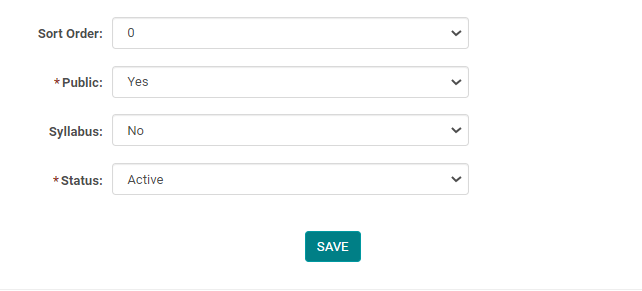
Click on 'Add Presentation'

Fill in all the required fields. And click ‘Save’
Start On and Ends On = The time range when the presentation is made available for public view
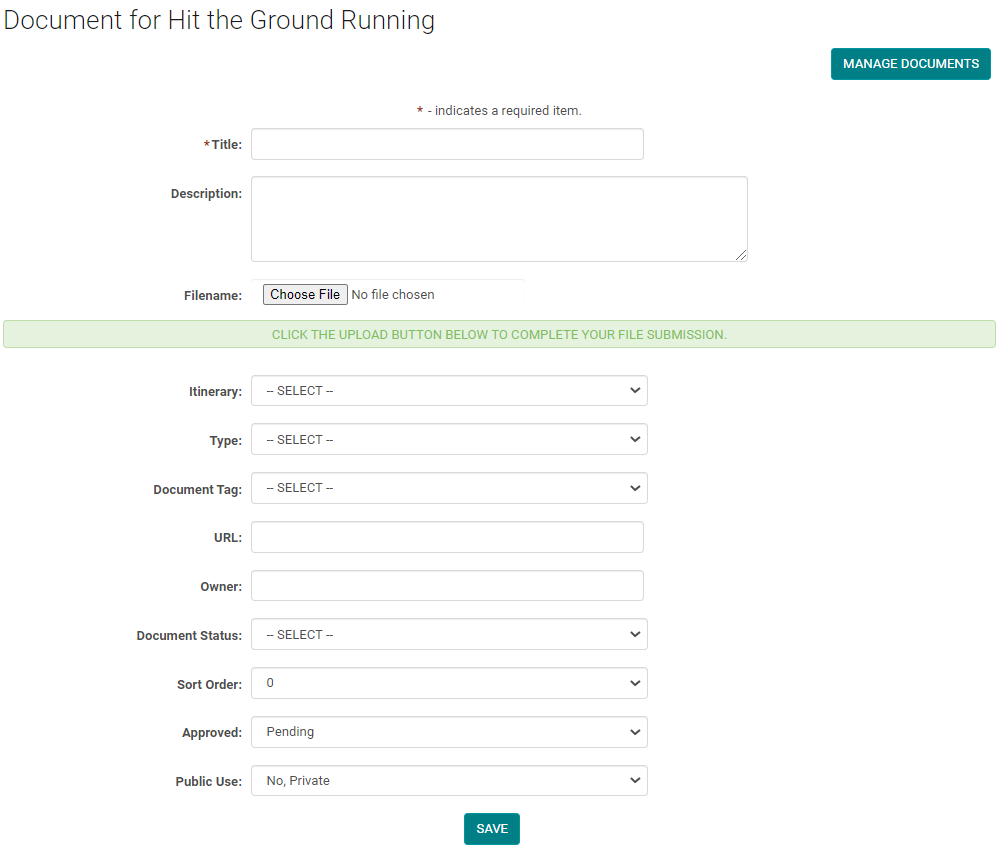
Click on Documents
Click on Upload Document

Fill in all the required details and save.
Filename: Choose the document file
Document Status: Status can be selected at every step of the review.
Approved: flag Yes or No after the review
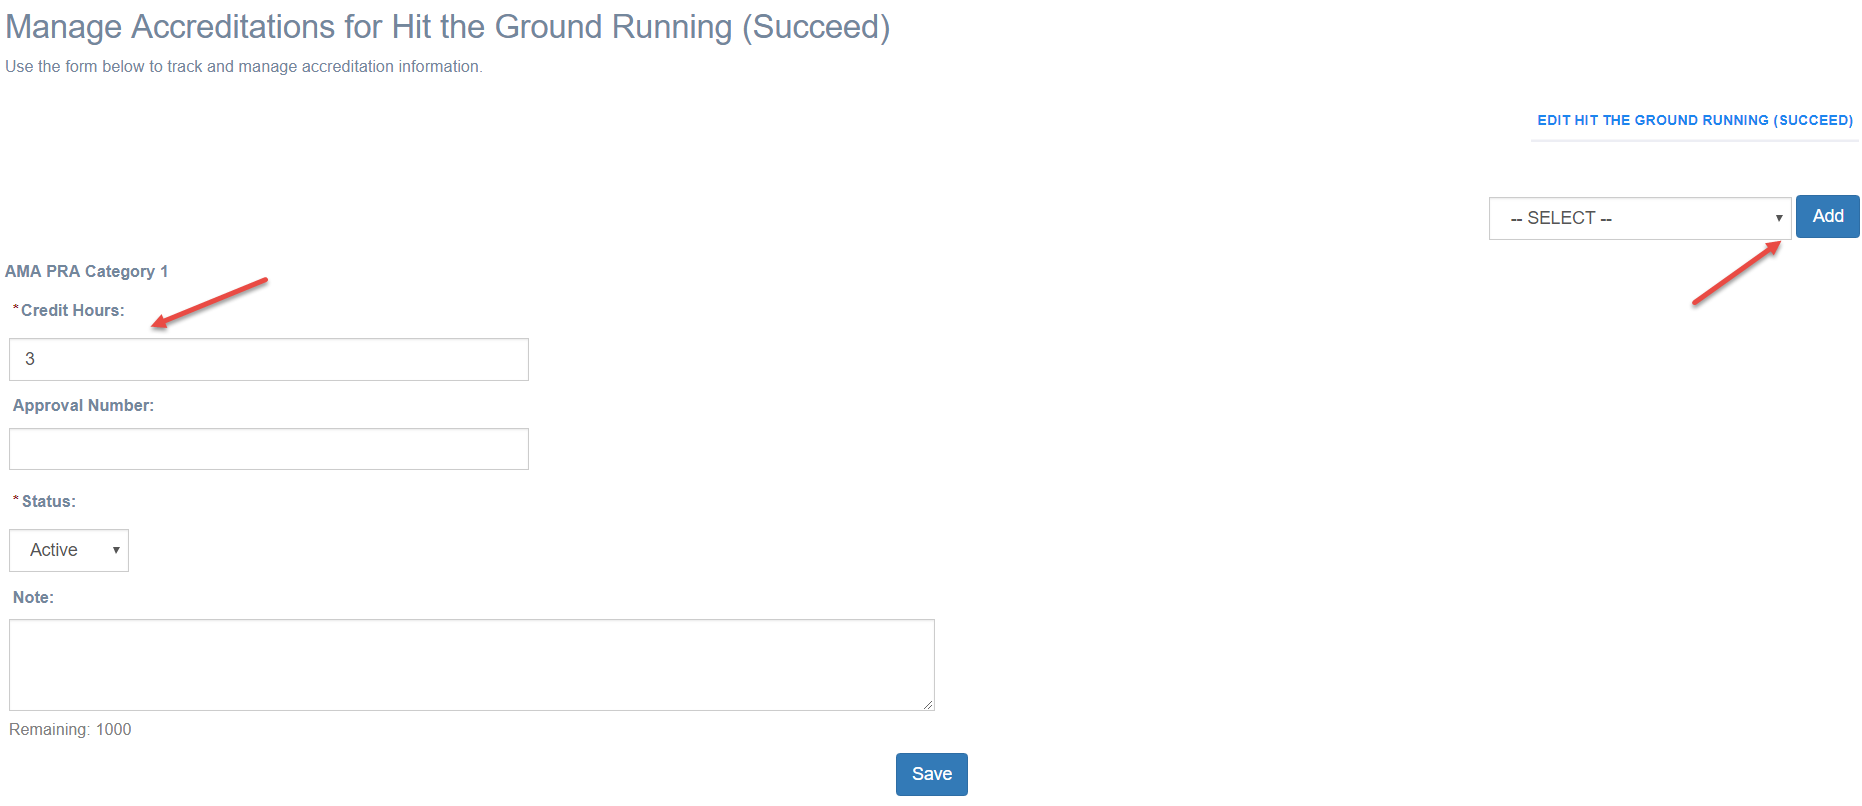
Click on Manage Accreditations

You can manage session specific accreditations here. When you offer two different credit certificates from the same session add both the certificates here. For example, Add both AMA and ANCC certificates. Note: Make sure the same certificates are added to the Activity's Manage Certificates set up.
Additional Notes: When it comes to RSS activity type you may need to create more than one session per each RSS activity. When you want to create a series of sessions for a single RSS activity click on ‘Duplicate’, which duplicates the session with all the information associated with it including speakers, presentations etc. You only need to change the name and dates of the session. You can always make changes to the duplicated session i.e. you can remove existing speakers, presentations, documents and add new ones; add new certificates under 'Manage Accreditations.'