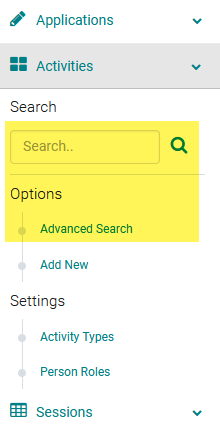
Go to Activities > use the search box or click 'Advanced Search' to find the Activity for which you want to Manage the Activity Pages.
Click on the Name of the Activity

From the Activity, click on the ‘Manage Activity Pages’ link

Click on the ‘Add New’ button

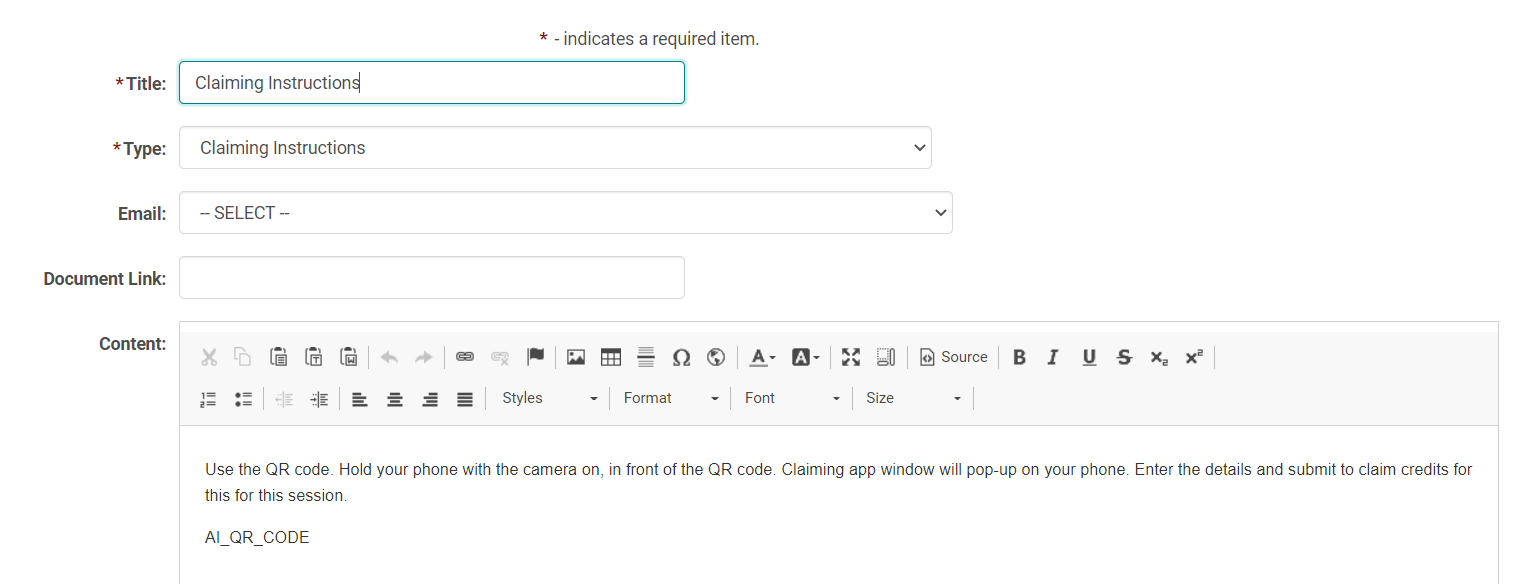
Fill in the required fields and select the appropriate ‘Type’ from the drop-down

Activity Page types Examples
Layout & Navigation
- Activity Banner
Banner image has to be uploaded into Files section.
1) Go to Web Content > Files
2) Copy the banner image link. Only the highlighted portion

3) Go to the Activity dashboard> Manage Activity Pages
4) Click Add New
Title: Add a Title
Type: Activity Banner
Document Link: paste the file link copied under step 2 - acropolis_1000x250.jpg
Activity Document ?: No
5) Save
6) Click on the 'Preview' either on the Manage Activity page or Activity preview on the Dashboard to see the update.
- Activity Sub Item Page
Select this when you want to create a menu item with a header as entered under the Title field . You can use this when you want to redirect the user to a document, external link or content on the same page.
Note: 1) In order to redirect them to documents, upload the document to the Files section under Web Content, and copy and paste the file link (only the file name and not the complete URL) in the Document Link field. 2) For external link, paste the complete URL in the Document Link field
When you are using documents under 'Files' make sure the Activity Document ? flag is set to 'No'.
- Activity Sessions also shows up as an Activity Sub Item Page with link to the Activity's sessions listing.

- Activity Logo
Instructions
- Claiming Instructions
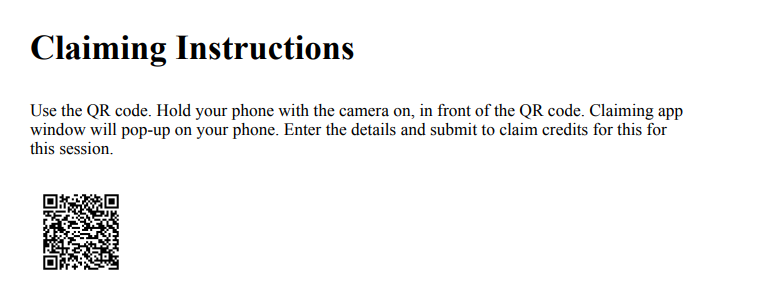
Add the Instructions in the Content field like shown below. Make sure the QR CODE tag is added below the instructions.
This instructions would appear in the Session Reports section to the front end Coordinator. This instructions page can be printed and distributed ; or can be downloaded and emailed to the participants.
Registration
This option will only show when there is Registration On = Yes for the Activity. Instructions added in the Content section on all of the below types will show in the area highlighted in green.
- Registration Landing Page
- Registration Instructions
- Registration Contact Instructions
- Registration Demographic Instructions
- Registration Product Instructions
- Registration Summary Instructions
- Registration Confirmation Paid
NOTE: There is a system auto email that goes out when a person registers. In the place of the system email, if you would like to use the specific reg email to be sent out for a particular activity follow the steps below:
- Create an email for Activity specific Registration.
- When setting up the "Registration Confirmation paid" Activity page, choose the email you created above in the Email field.
- This email is sent out only to this activity's registrants.
- If your activity has different Registration types set up, you would see a file for it where you would be able to select the specific type. For example: different emails can be sent to Physician vs Non-Physician.

- Registration Confirmation Not Paid
NOTE: All of the set up rules detailed under Registration Confirmation Paid apply here also.
- Registration Cancellation Policy
Emails
Email options do not show unless the functionality send Auto email from the Claiming and the Manage Attendance App is added to your site. Please review this help doc https://highmarksce.helpdocs.com/claiming/sending-auto-email to understand the functionality. This document details how you can use the below options for each activity.
- Claiming App - Credit Added for Existing Persons
- Claiming App - Credit Added for New Person
- Admin Claiming App - Credit Added for Existing Person
- Admin Claiming App - Credit Added for New person
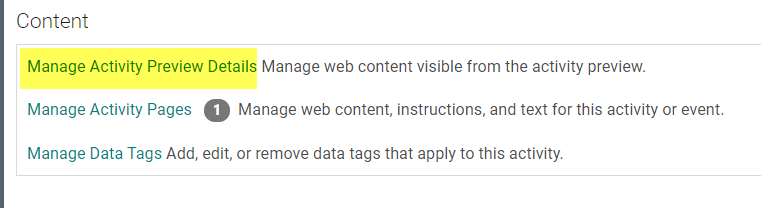
Manage Activity Preview Details:
Some sites also have the Manage Activity preview Details option on the Activity dashboard. Besides the Manage Activity pages options as detailed above, you can use the Preview Details also to manage a few of them. This is an abridged version of the Manage Activity pages. This option does not have all the options available under Manage Activity Pages .
Note: If needed, the Manage Activity Preview Details option can be exposed to the front end Coordinators.
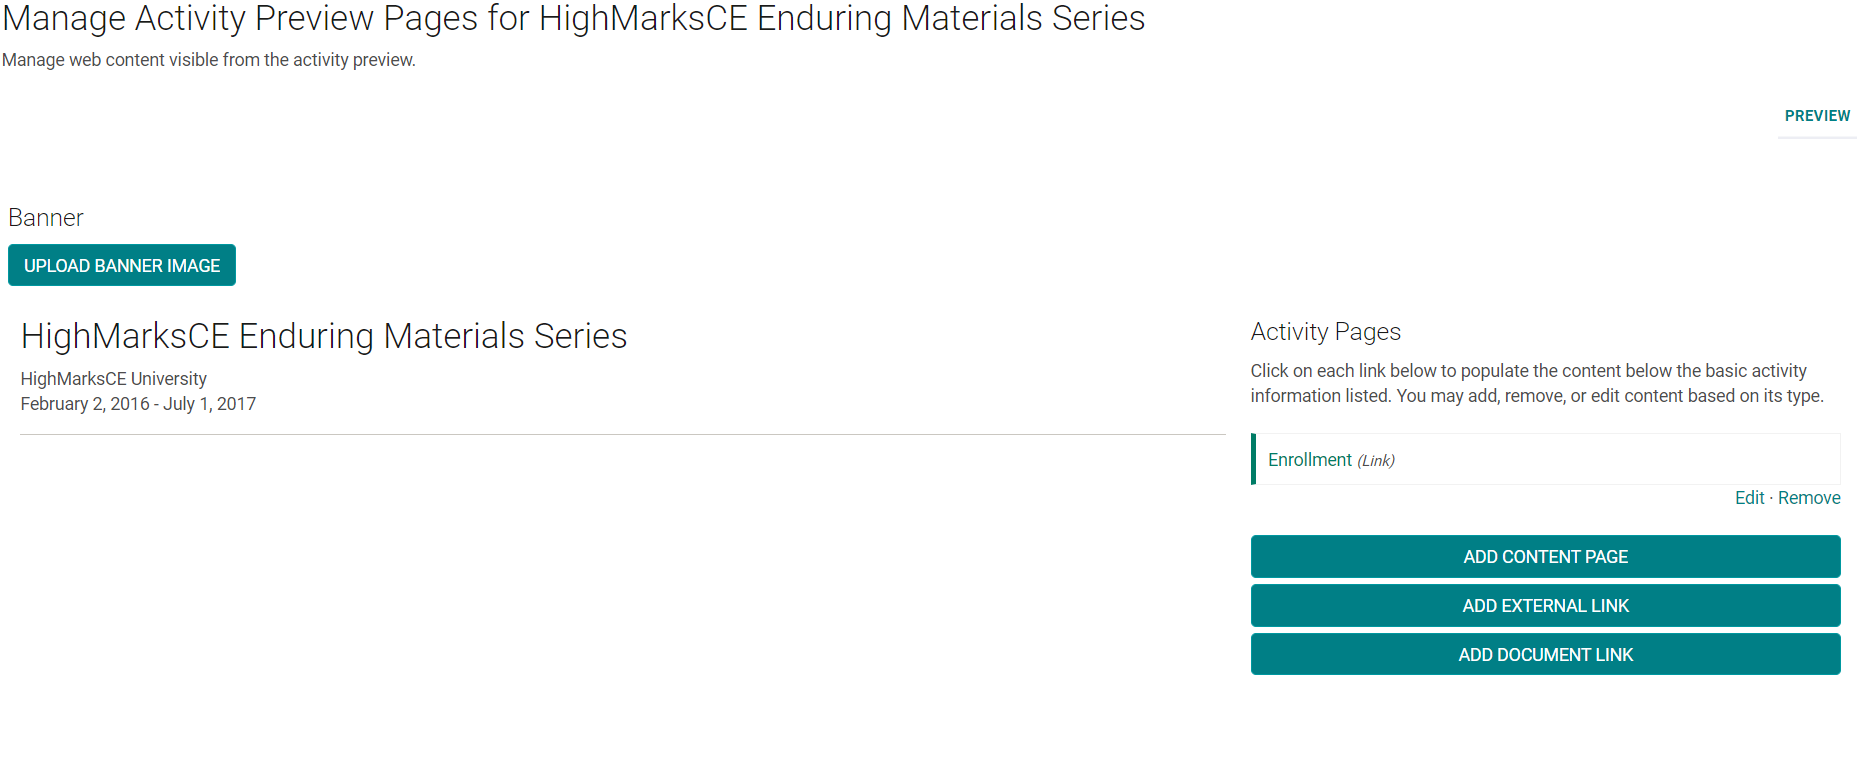
Upload Banner Image : Click on this button to upload the activity banner image from your PC.
Add Content Page: Click on this button to upload/add content (under the content section) to display it on the Activity Preview page. Under this you will also find an option to add a link to the Sessions under the Activity. When you are using this option, anything added under the content is ignored.
Add External Link: Click on this button to add a Sub item page that directs the user to an external website.
Add Document Link: Click on this button to upload a document from your PC . The Sub item link would open the document for the user.
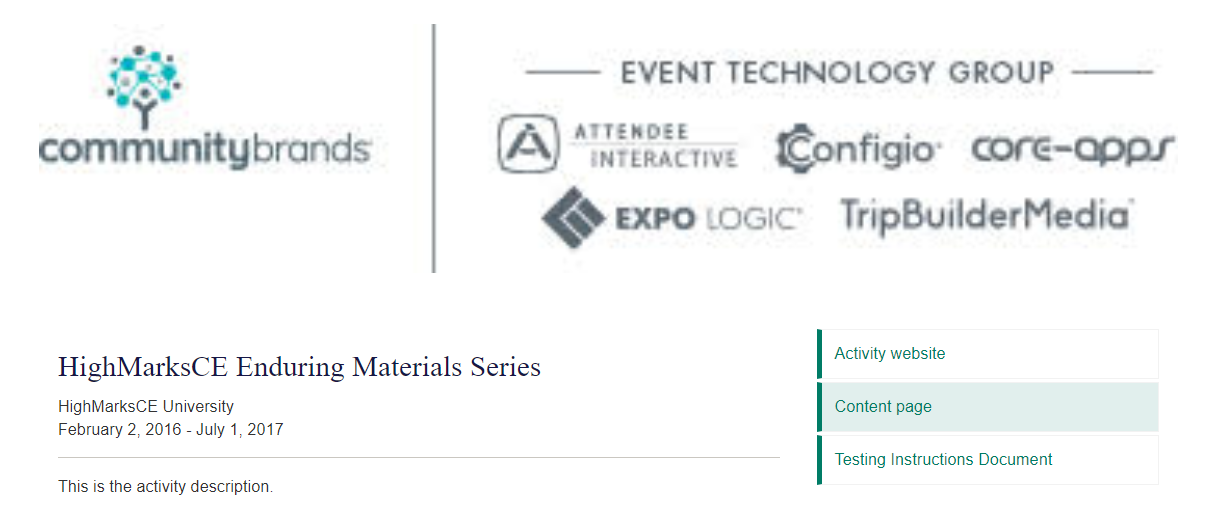
When all the above options on the Manage Activity Preview Details is used, your Activity page would look like this:
Zoom/webinar Meeting and recorded presentation links on Activity Pages
There are two different options to explore here depending on when and where you would like the registrants to access the recorded presentations or zoom/webinar meeting links.
Option 1: You can add the presentation or meeting links on the Edit Session page or under 'Manage Documents', where it will show on the Session Previews regardless of the activity type.
In order for the Session Previews to be available for the Registrants from the Activity pages, like shown below, please add the 'Activity Sessions' as a sub item page. This process is explained above.

Option 1 is useful when the activity has more than one session and every session has a different presentation or zoom meeting link.
This is also useful when you want the attendee to access them while claiming credits.
Option 2: Unlike option 1, if you would like the user to access the presentation or Zoom/webinar link directly on the Activity page, you can add sub item page like shown below through Activity pages.
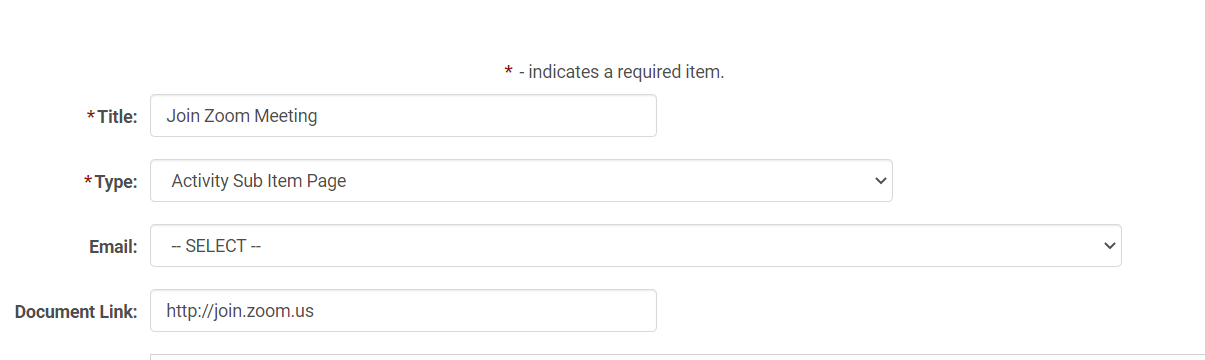
From the user side, when they click on the Activity title, they would see a sub item like below linked to the meeting or presentation link you provided.
