Registration import functionality is used
- To import registration records where there are registration products involved. This option will import the people as registrants (ActRegistrant), and add orders for the specified products.
- To import Attendance directly into the Sessions. (This option is enable per site)
Note:
Registration Imports for Enduring Material get listed under the Activity dashboard - Manage members page and also the Roster Management of the Session.
Registration Imports for For non-Enduring Materials get imported to Activity dashboard - Manage members page only. You don't see them under Session's "Roster Management" page.
Go to Activities > use the search box or click 'Advanced Search' to find the Activity you want to import the registration data to
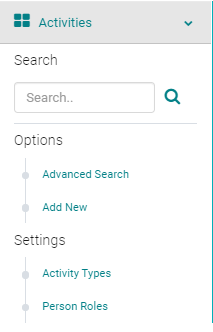
Click on the Name of the Activity and click on "Select Activity"

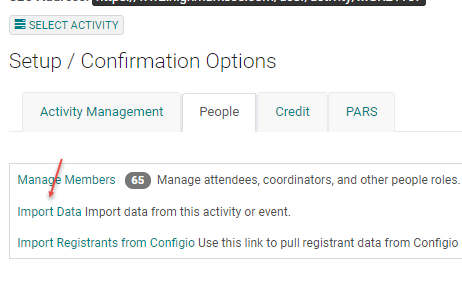
From the Activity Dashboard go to People > Import Data
Steps to Import Data - (Registration and Attendance import follow the same import process)
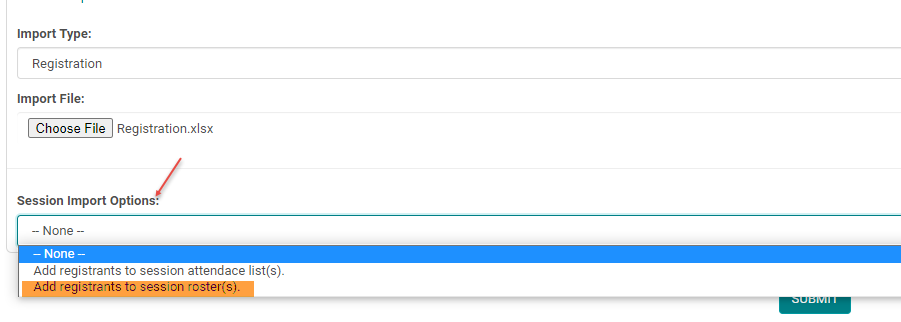
STEP 1: Import type - Select Registration Import Type.
STEP 2: Import File - Click on the 'Choose File' button and browse your computer for the data file you want to import, and Click Submit.

Optional STEP
STEP 3: Session Import Options - This option is enabled per site to import the attendance records to the Attendance Management of all types of sessions and to the Roster Management of Enduring Material Sessions.
By default, if there is only a single session, Registration imports are added to the Session Roster Management. If there is more than one Session, choose "Add registrants to session roster(s)" option to add them to selected sessions. Click Submit.
NOTE: Do not refresh your screen or let your computer go to sleep while the system is validating import options.
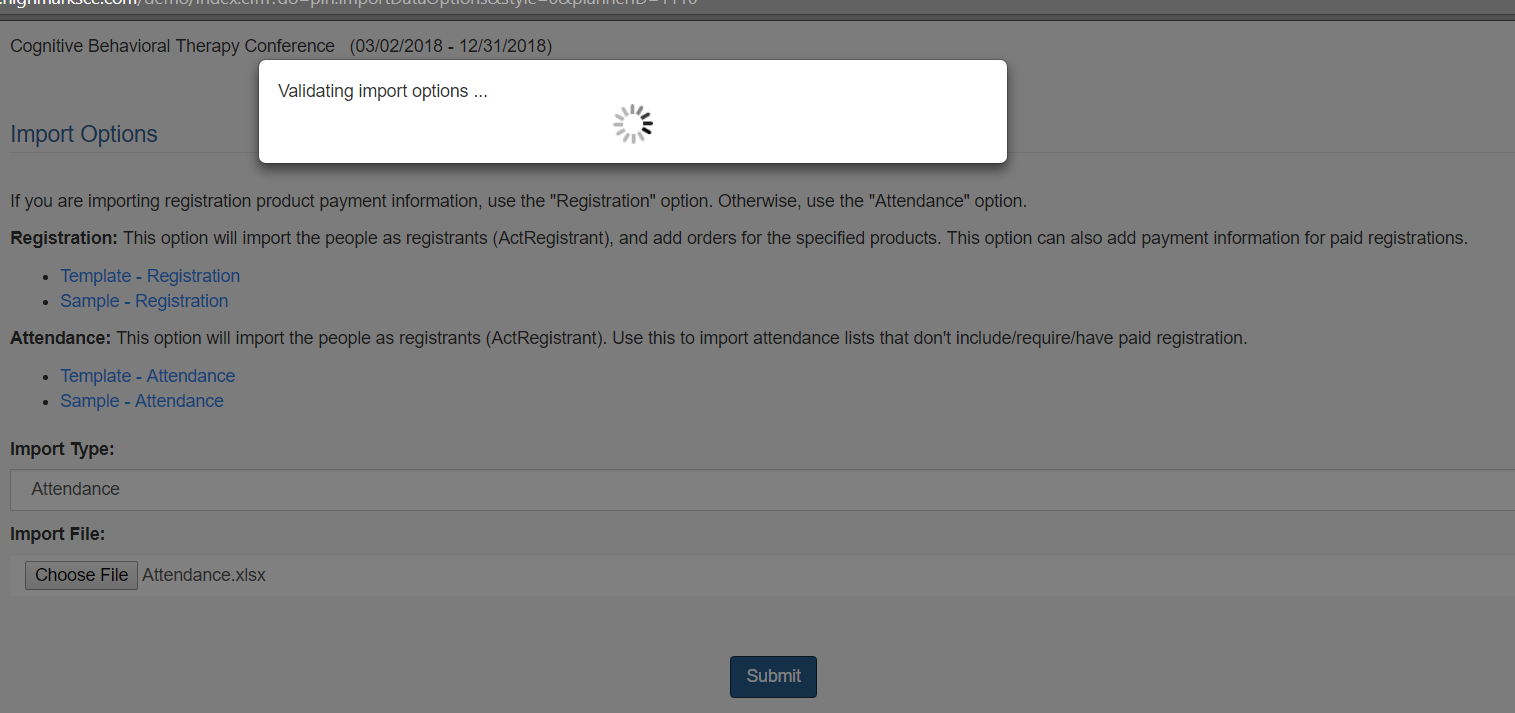
If you receive an error message, you will need to correct the data in the original file and go through STEP 1 again
If you selected the "Session Import Option" on Enduring Materials, in the next screen you will be able to select the sessions.
If you selected the "Session Import Option" on Enduring Materials, in the next screen you will be able to select the sessions.
In the next screen you will be able to select the Sessions.

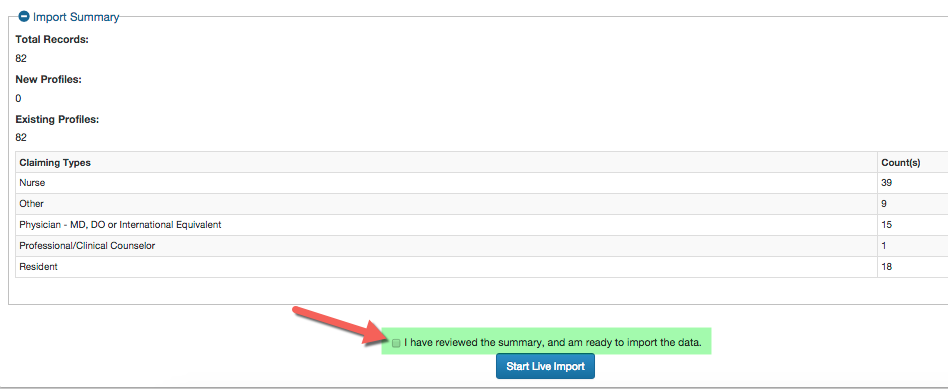
Review the 'Import Summary' counts and click the 'Start Test Import' button.
NOTE: Do not refresh your screen or let your computer go to sleep while the system is running the test import.

STEP 6: Click on the 'Test Import' Excel file download link

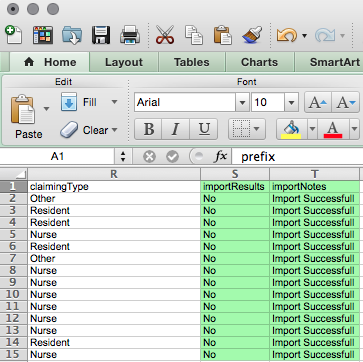
Review the Test Import file - there will be 2 additional columns at the end of the Excel data
Check the box to confirm you reviewed the data, and click the 'Start Live Import' button
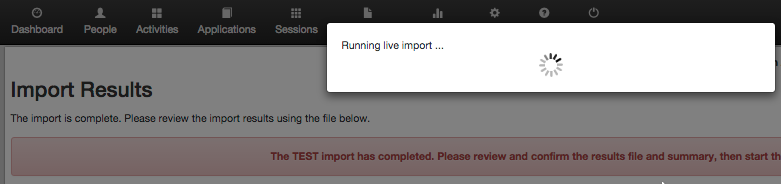
NOTE: Do not refresh your screen or let your computer go to sleep while the system is running the live import.
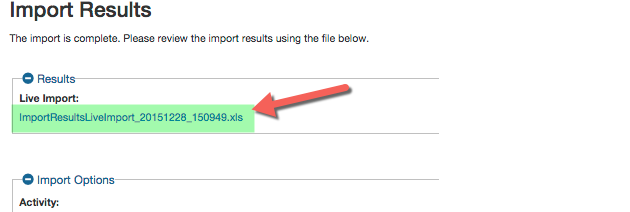
STEP 7: Click on the 'Live Import' Excel download link
Review the Live Import file - there will be 2 additional columns at the end of the Excel data
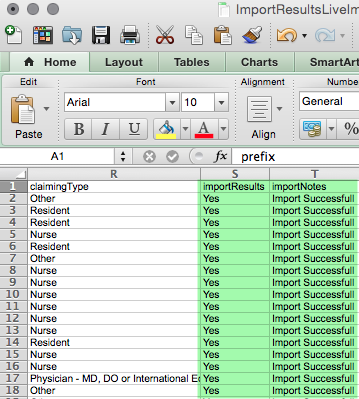
Review the 'Import Summary' to confirm the data counts are correct
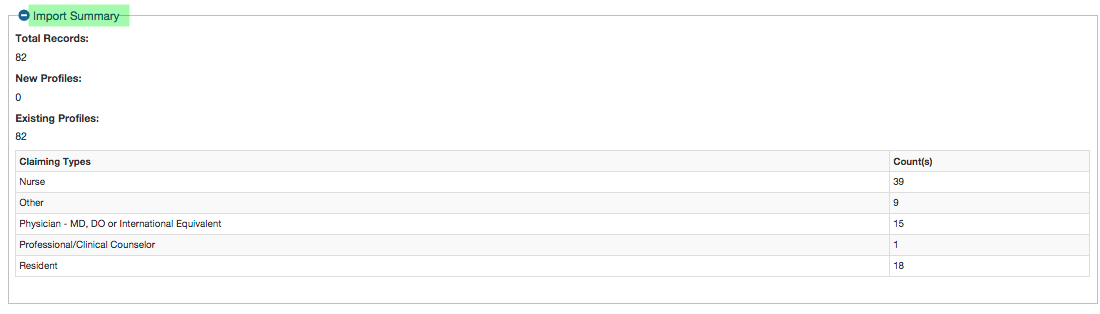
The data imported will either create a new profile with an order or update an existing profile with the order.